Vernier Caliper and its types
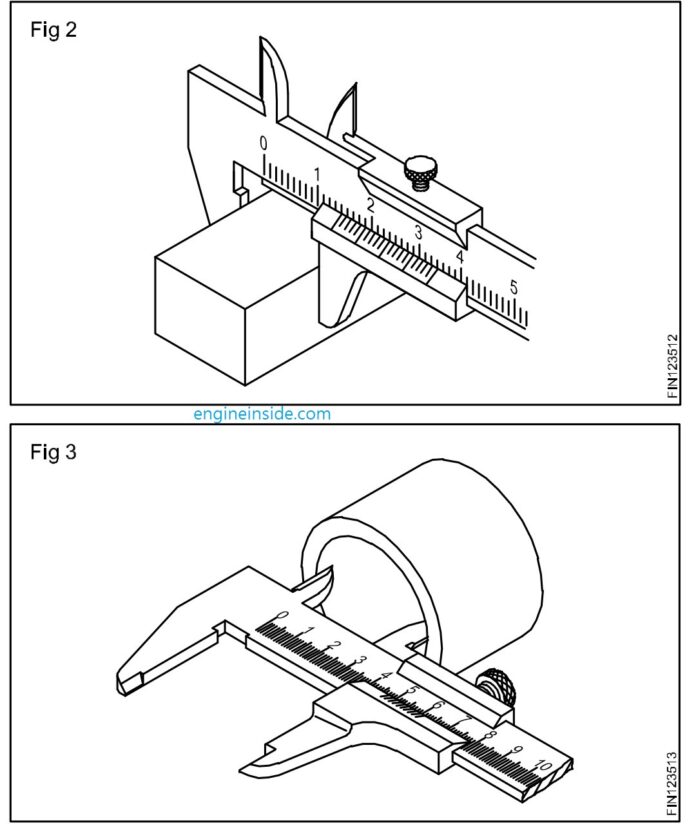
Vernier caliper is a very popular measuring instrument in the field of engineering and metrology. Generally the least count of vernier caliber is 0.02mm or 20 Micron. Vernier caliper is made out of two types of materials invar steel and stainless steel
Components of steel are ; iron, carbon, magnesium, manganese, sulfur, phosphorus, silicone in various percentages as required.
Components of Stainless Steel are : 9 to 16% is chromium, rest is steel.
Components of Invar steel are : 36% nickel, 64% steel. Invar steel is majorly used in measuring instruments because of its minimum thermal coefficient.
Least count calculation of vernier caliper :
One main scale division (MSD) of the main scale in the vernier caliper measures 1 millimetre and one vernier scale division (VSD) in the vernier scale measures 49/50 millimeters = 0.98mm.
Last count is equal to the minimum measurement that can be taken from an instrument. In Vernier scale Least Count = one main scale division – one vernier scale division.
=> LC = 1MSD – 1VSD
= 1mm – 0.98mm
= 0.02mm = 20 micron.
Types of Vernier Calipers :
- Dial vernier caliper
- Used for measuring external, internal dimensions and depth of blind hole.
- Mechanism of working- rack and pinion
- Least count- 0.02mm
- Procedure of reading – Main Scale Reading + ( Pointer coincidence x Least count)
2. Digital vernier caliper
- least count= 0.01 or 0.001 mm
3. Depth Vernier Gauge
- used for measuring depth of large sized hole and Tapper hole
- made-up of stainless steel or invar steel
- specification ranges are – 0-150 mm, 0 – 200mm and so on.
- Least count – 0.02 mm
- Reading procedure – MSR + (Vernier coincidence x L.C. )
4. Groove vernier caliper
- used for measuring internal groove or slot dimensions
5. Gear Tooth Vernier caliper
- used for measuring width and height of gear tooth simultaneously..
- the vertical scale shows the height and the horizontal scale shows the width of the gear


